DIY Wood Kit Assembly
Wood door hanger kits are a fun way to dress up your entryway!
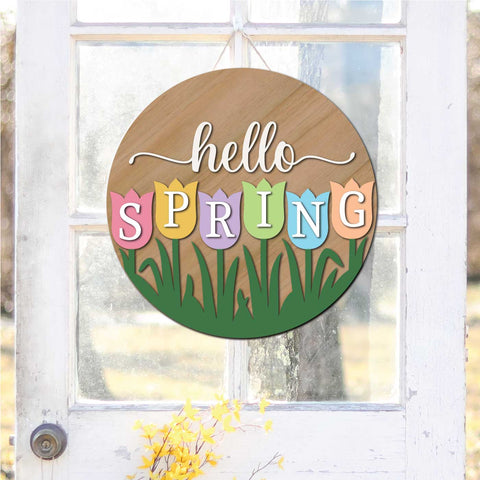
The kits come with a solid 1/4" thick plywood circle for the base and then decorative designs are cut out of 1/8" material for the top layer. This gives a more 2D effect adding depth and visual interest. Compared to stenciling; the wood kits are even easier to work with. No craft skills required! Just paint and glue together (and it still looks like you're really crafty!)
Here's the low down on how to assemble and paint your kit:
Supplies Needed:
- Paint brushes (variety of sizes)
- High density sponge roller with extra sponges (optional but handy!)
- Paint; acrylic, chalk or mineral paints
- Wood glue / Q-Tip for applying
- Painter's tape
- Paper towel / rags
- Sandpaper
- Spray Sealer
- Ribbon
- Hanging hardware (or drill for drilling holes if preferred)

Step 1:
Unpackage your wood kit carefully watching for small, loose pieces. Store any small pieces in a cup or ziploc bag to until you are ready for painting. Lightly sand the wood pieces if desired. The wood is laser cut which can leave some scorch marks around the edges. You can remove the scorch marks by lightly sanding or painting over. Be careful when handling the smaller pieces as they can be more delicate and easier to break.

Step 2:
We recommend using a roller with a high density sponge. A roller will make painting the pieces faster as well as help prevent any paint from dripping over the edges. You can also use a paint brush if you don't have a roller. The wood pieces have a darker/burnt edge as a result of being laser cut. You can decide if you want to paint over that dark edge or if you want to keep it exposed. When using a roller; be sure to "offload" the paint first onto a paper towel or cardboard to make sure there's not too much paint on the roller when you begin painting. Start with a really light coat of paint and repeat as necessary. If there's too much paint on your roller or brush it will drip over the edges. If you do want to paint the edges; use the roller where you can; and touch up the rest with a brush or Q-Tip.

**TIP for painting small pieces:
Use painters tape to help hold the pieces in place. Take a strip of painters tape and lay it FACE UP on your table. Secure it in place with another piece of tape on either end. Now lay your wood pieces over the exposed tape and let them stick in place while you paint. You can run a roller gently over top to finish painting and the pieces won't slide around. Go slow and don't apply too much pressure with the roller; and you should be able to avoid any paint getting on the sides. You can also use a stencil brush or paint brush for painting the pieces. **Find a roller with a high density sponge for best results.
Step 3: Assembly
When the wood pieces are dry; you can begin assembling them. Refer to our kit photos on the website for suggested placement. Once you are happy with the layout; start gluing each piece in place using wood glue. You can apply the wood glue with a brush or a Q-tip. Hold the piece in place and apply pressure for a few seconds while it dries.
Step 4: Sealing
You may wish to seal your project using a spray sealant. Rustoleum is a good brand and comes in matte or glossy finishes. If you intend on displaying your project outside; look for a spray that is suitable for exterior/interior use.
Step 5: Hanging
Hang your project using a ribbon or rope. You can drill two holes in the wood round or use a staple gun to attach ribbon to the back of the round.

Hi, I was wondering on the 6pk of the symbols of fireman,police, first responders etc says they are 8" so what size board will these fit on
thank you
Leave a comment